Rice Kheer – The Traditional Way

Punjabiyan Di Shaan Vakhri Te Unada Khaana te Duniya to hi Vakhra Ji.. Maa / Dadi / Nani de hath ki kheer da jawab hi nhee..
See the influence of kheer on me I have started writing in Punjabi .. Kheer is a desert we have been relishing since childhood and it’s a treat we always looked forward to.. Be it sewai kheer, sabudana kheer, makhana kheer or rice kheer. My all time favourite is rice kheer, so though will try this for my guests over a dinner party. Traditional Indian food needs to be happily ended with an authentic Indian dessert and especially if you are from North India then Kheer to Banti Hai Yaar..
So Get Set and Let’s Cook!!

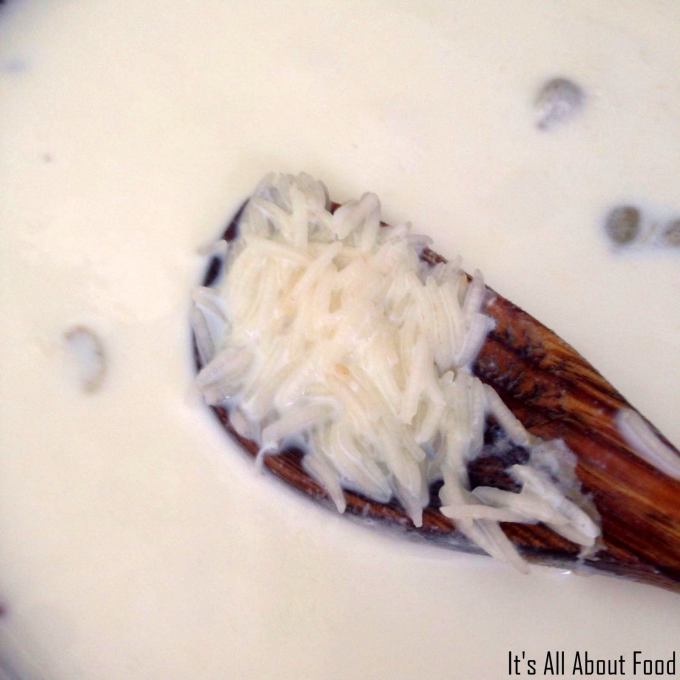
For this recipe it is very important to wash rice thoroughly, or else the kheer will have a peculiar smell & taste of rice. So we need to wash them under cold tap water a couple of times till the water runs clear and then soak it for 30 to 45 minutes.

Once soaking is done we need to make sure that all the water is drained out properly, as we don’t intent to add any water to our kheer, so let the rice sit in the colander while we boil our milk. These are very important steps.
Taking a heavy bottom pot, or a non stick pot add milk and let it boil on medium flame, I used a non stick stoneware pot. Once the milk boils, lower the heat. We need to be very alert for making this dish – As nazaar haati, Durghatna Ghati… lol 🙂 This process will take about 12 to 15 minutes.

Then add the soaked rice, cardamom and sugar and mix properly and let it cook further.

Let the rice cook in the milk till it’s completely cooked and can be mashed with fingers. This process would take around 30 mins from the time milk had boiled, but keep stirring the milk after every 3 to 4 minutes or else the milk will start sticking to the pan.

It’s very important to keep scrapping the side and adding the thick residue back in the milk, this thick residue will help the kheer to get thick, so keep putting it back. Also make sure to scrape the bottom of the pot, but do not scrape it too hard as sometimes the milk sticks to the bottom no matter how much you stir and scarping hard would give you brown residues in the kheer.
Once the rice is cooked, again put the flames on medium and start stirring it more frequently. This time I think every 2 to 3 minutes. Keep a close eye.

Now add a small pinch of saffron and condensed milk to the kheer and mix well. It would have been 1 hour by now.
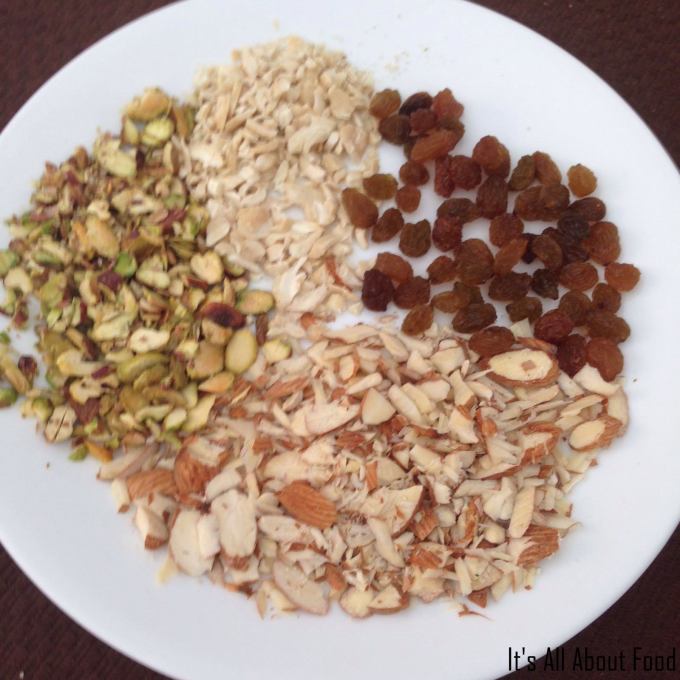
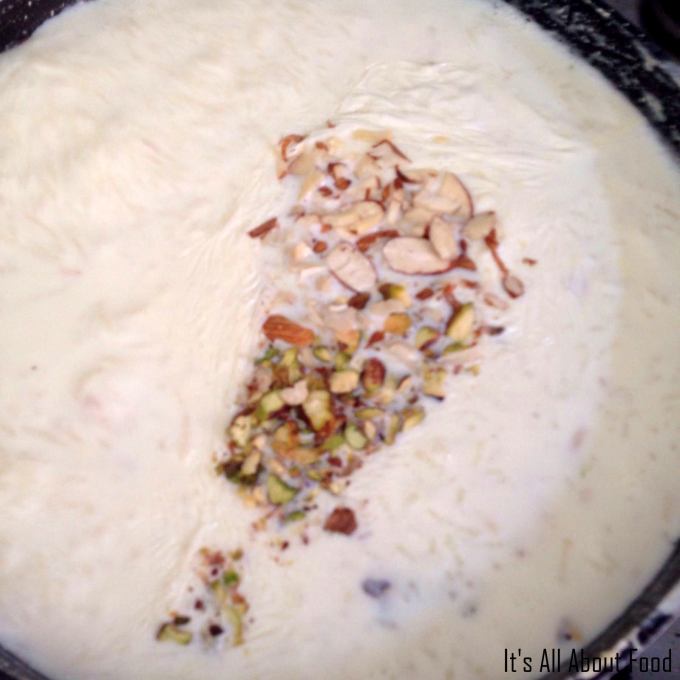
Let it boil more and after 15 minutes or so add the dry fruits (almond/pistachio/cashews and sultanas) as much as you like but do save some for the garnish. By now it should have been roughly 1 hour 15 minutes time of our kheer been cooking.
Now taste test, if you want it sweeter add more sugar or condensed milk, according to your liking. Some people like their kheer a little milky / runny, so if you are one of them then close the flames now and your kheer is ready which is about 1 hour 15 minutes, but for me I like it little thick so I cooked the kheer further 15 to 20 minutes, stirring and scarping as I went.

After about 1 hour 45 minutes my Kheer was ready but if you want it more thick go ahead and cook for more time. But remember once the kheer starts getting cold it thicken.
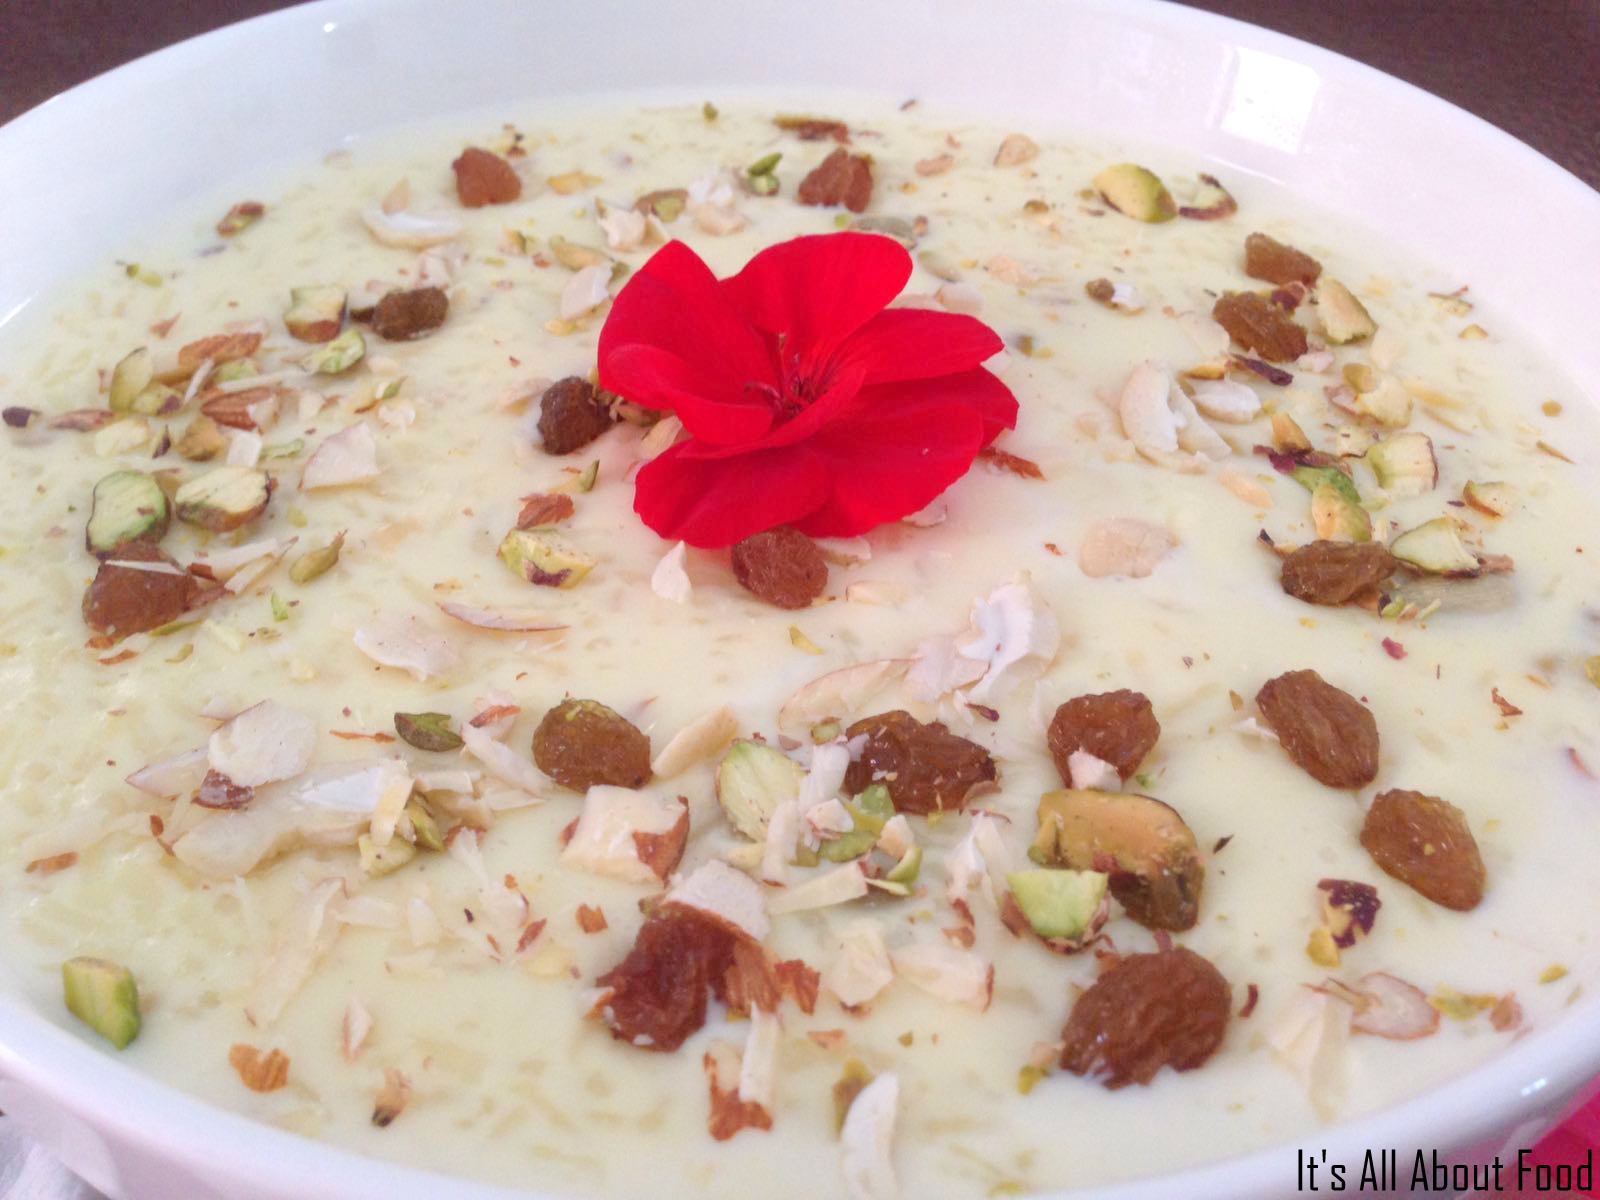
Your kheer is ready.. You can serve it hot or cold.
If you have made kheer in advance and want to heat it later just before serving then add ¼ cup of boiled milk and mix it well with kheer and then heat it on medium flame and stirring constantly.
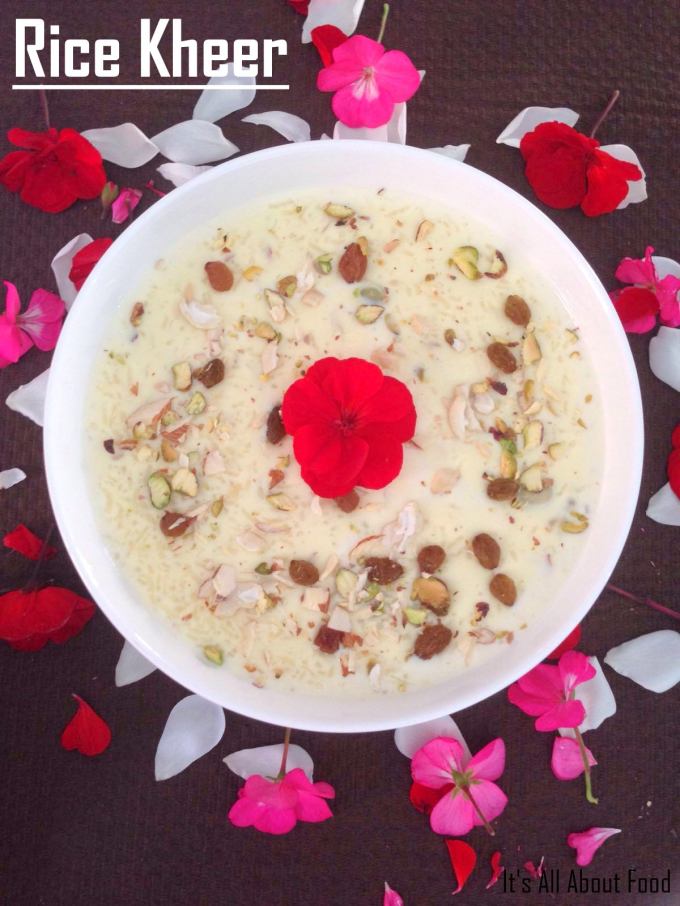
Add the rest of the dry fruits as garnish and serve.. Hope you all like it as much as we did..
Happy Cooking and Thanks for stopping by 🙂
Rice Kheer
Ingredients: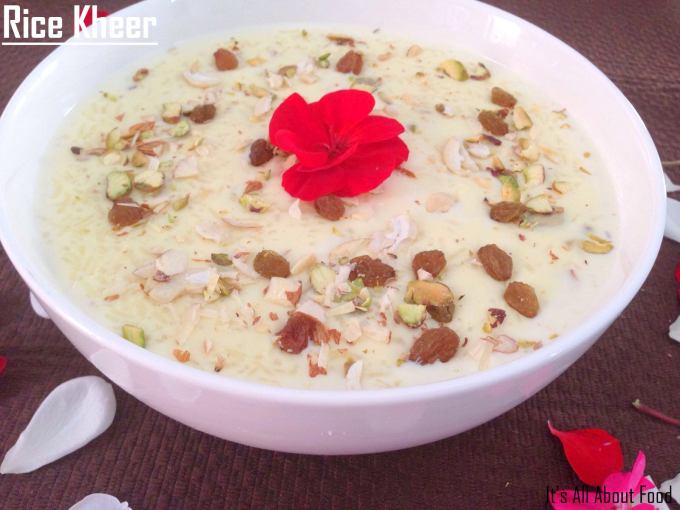
- 3 liters full cream Milk
- 1 cup Rice (I used Basmati)
- 5 Cardamom (Elachi)
- 5 tbsp white Sugar
- ¼ tin / 6 tbsp Condensed Milk
- Almonds
- Pistachio
- Cashew Nuts
- Sultana
- Small pinch Saffron
Method:
- Wash rice properly by keeping it under tap water and keep washing till the water is clear in colour. Then soak the rice for 30 – 45 mins.
- After 45 mins drain the water from the rice and leave the rice on colander for water to drip out properly.
- In a heavy bottom pot or a non stick pot add milk and let it boil on medium flame. Once the milk boils, lower the heat.
- Then add the soaked rice, cardamom and sugar and mix properly and let it cook.
- Let the rice cook in rice till it’s completely cooked and can be mashed with fingers. This process would take around 30 mins after the milk has boiled, but keep stirring the milk after every 3 to 4 minutes or else the milk will start sticking to the pan.
- Keep scrapping the side and adding the thick residue back in the milk, this thick residue will help the kheer to get thick, so keep putting it back. Also make sure to scrape the bottom of the pot, but do not scarp hard as sometimes the milk sticks to the bottom no matter how much you stir and scarping hard you get brown residues in the kheer.
- Once the rice is cooked, again put the flames on medium and start stirring it more frequently.
- Now add small pinch of saffron and condensed milk and mix well. It would have been 45 mins by now.
- Let it boil more and after 15 minutes or so add the dry fruits (almond/pistachio/cashews and sultanas) as much as you like and saving some for the garnish. By now it should have been 1 hour the kheer is cooking from the time milk was boiled.
- Now taste test, if you want it sweeter add more sugar or condensed milk, according to your liking.
- Some people like their kheer a little milky / runny, so if you are one of them then close the flames now and your kheer is ready which is about 1 hour 15 minutes, but for me I like it little thick so I cooked the kheer further 15 to 20 minutes, stirring and scarping as I went.
- After about 1 hour 30 minutes my Kheer was ready but if you want it more thick go ahead and cook for more time. But remember once the kheer starts getting cold it thicken.
- Tada the Kheer is ready, garnish with the rest of dry fruits and serve!!
- Some like it hot some prefer Cold..
Tips:
- Scraping it more often while give a very nice and thick texture to the kheer.
- Avoid scarping hard at the bottom of the pot or else you will end up with brown residues in your kheer.
- If you do not want to add sugar then add more condensed milk or vice a versa. But for me a mixture of both works perfect.
- If you have prepared kheer well in advance, then before serving add little about ¼ cup of boiled milk and then heat the kheer on gas stove or microwave, this will help to resume the texture or else it will be too thick.
Categories

Looks authentic. ..:)
Thank you😊
Delicious
Love the presentation and the contrasting flowers…👍👍rice kheer is always a yumm recipe..gonna try this one also for sure…😋😋😊
Very beautiful finish look!
Yummm! 🙂